Hiker Badge Activity Overview
I’m back with another review of a Girl Scout badge. My niece is a Brownie, and a while ago I helped her troop with the Pet Care Badge. This time, I’m going over the Hiker Badge Activity, since I’ve gone on hikes in a few different states.
Badge Guidelines
I put together a fun presentation based on my niece's troop's hiker activity guide, which aligns with the badge’s guidelines. Of course, I made a few changes to make it suitable for digital use! If you're looking for the guide, just reach out to your Girl Scout Troop Leader or check out the Girl Scout Shop. Happy learning!
Hiker Badge Activity Overview

Girl Scouts love to sing hiking songs, pack fun and tasty snacks, and hunt for signs of animals and birds. Here’s what you need to know to become a Brownie Hiker- get ready for adventure!
Steps
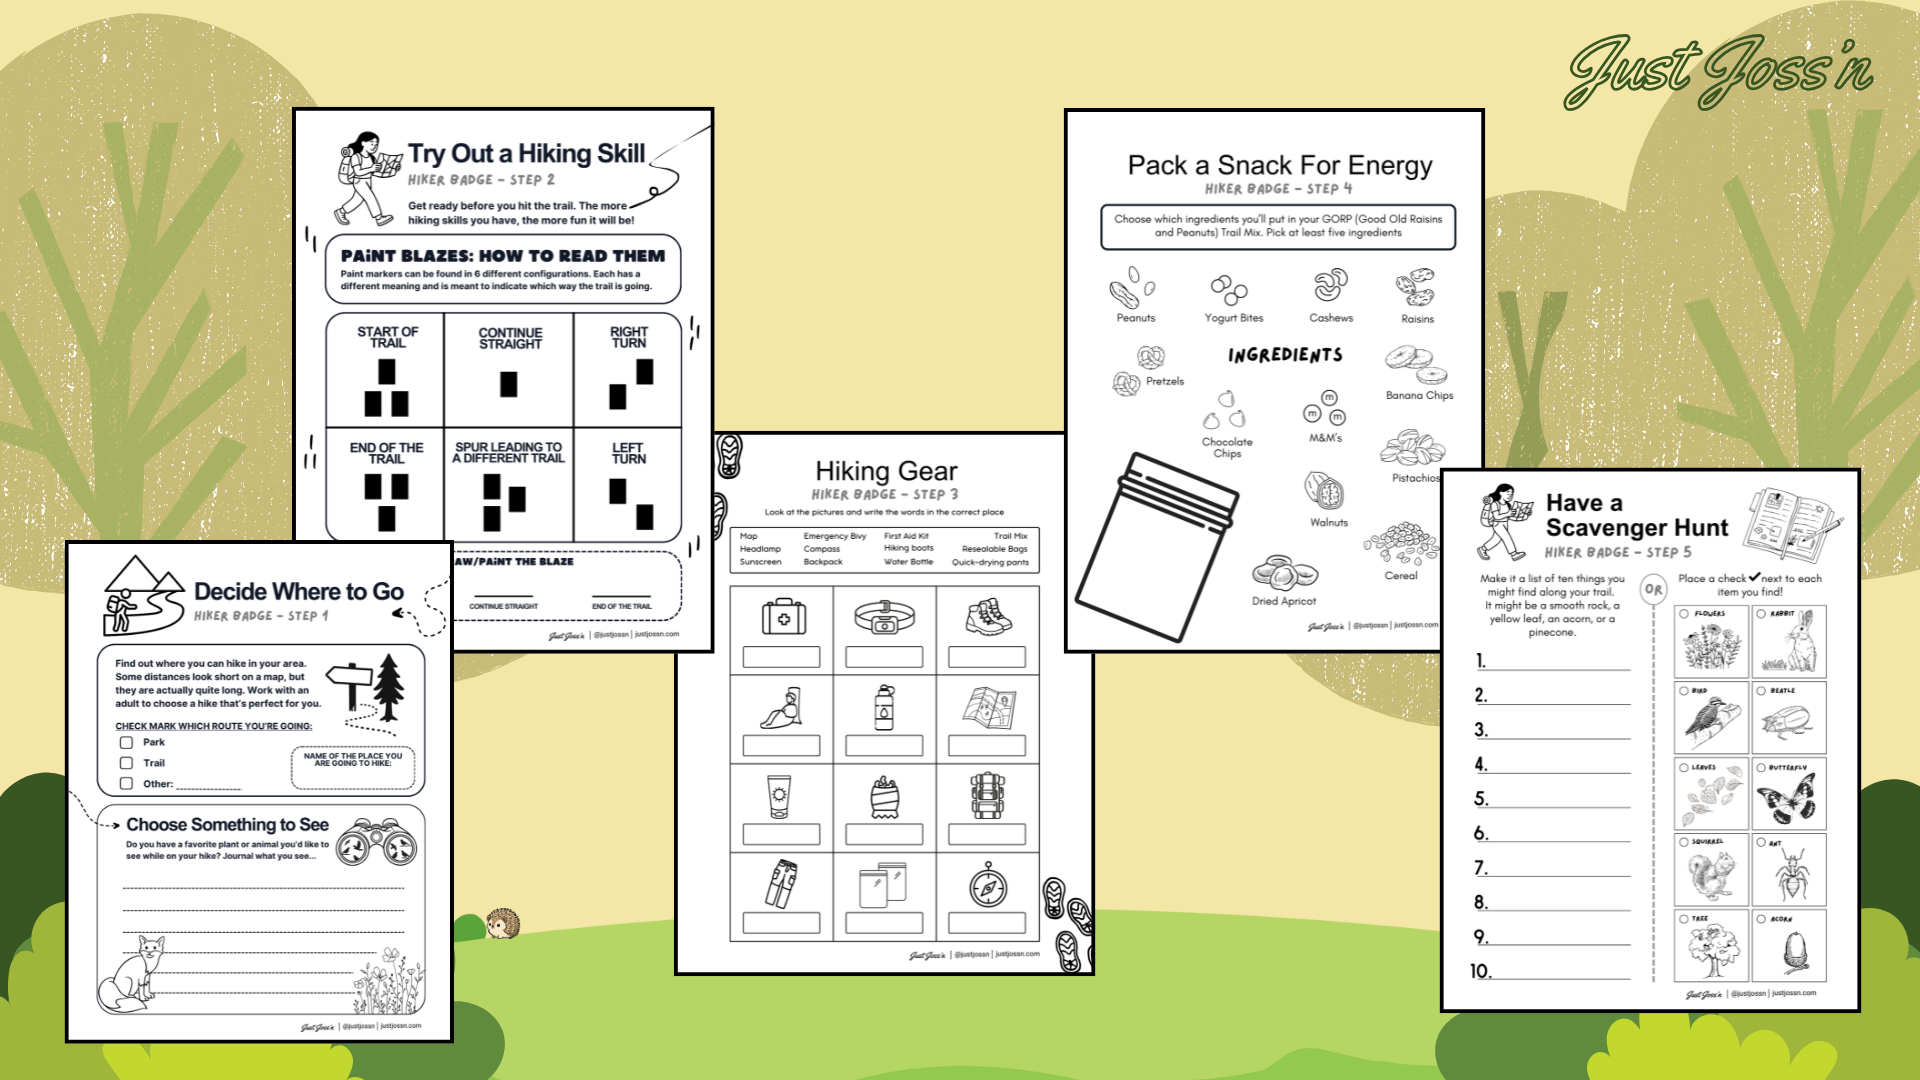
Decide where to go
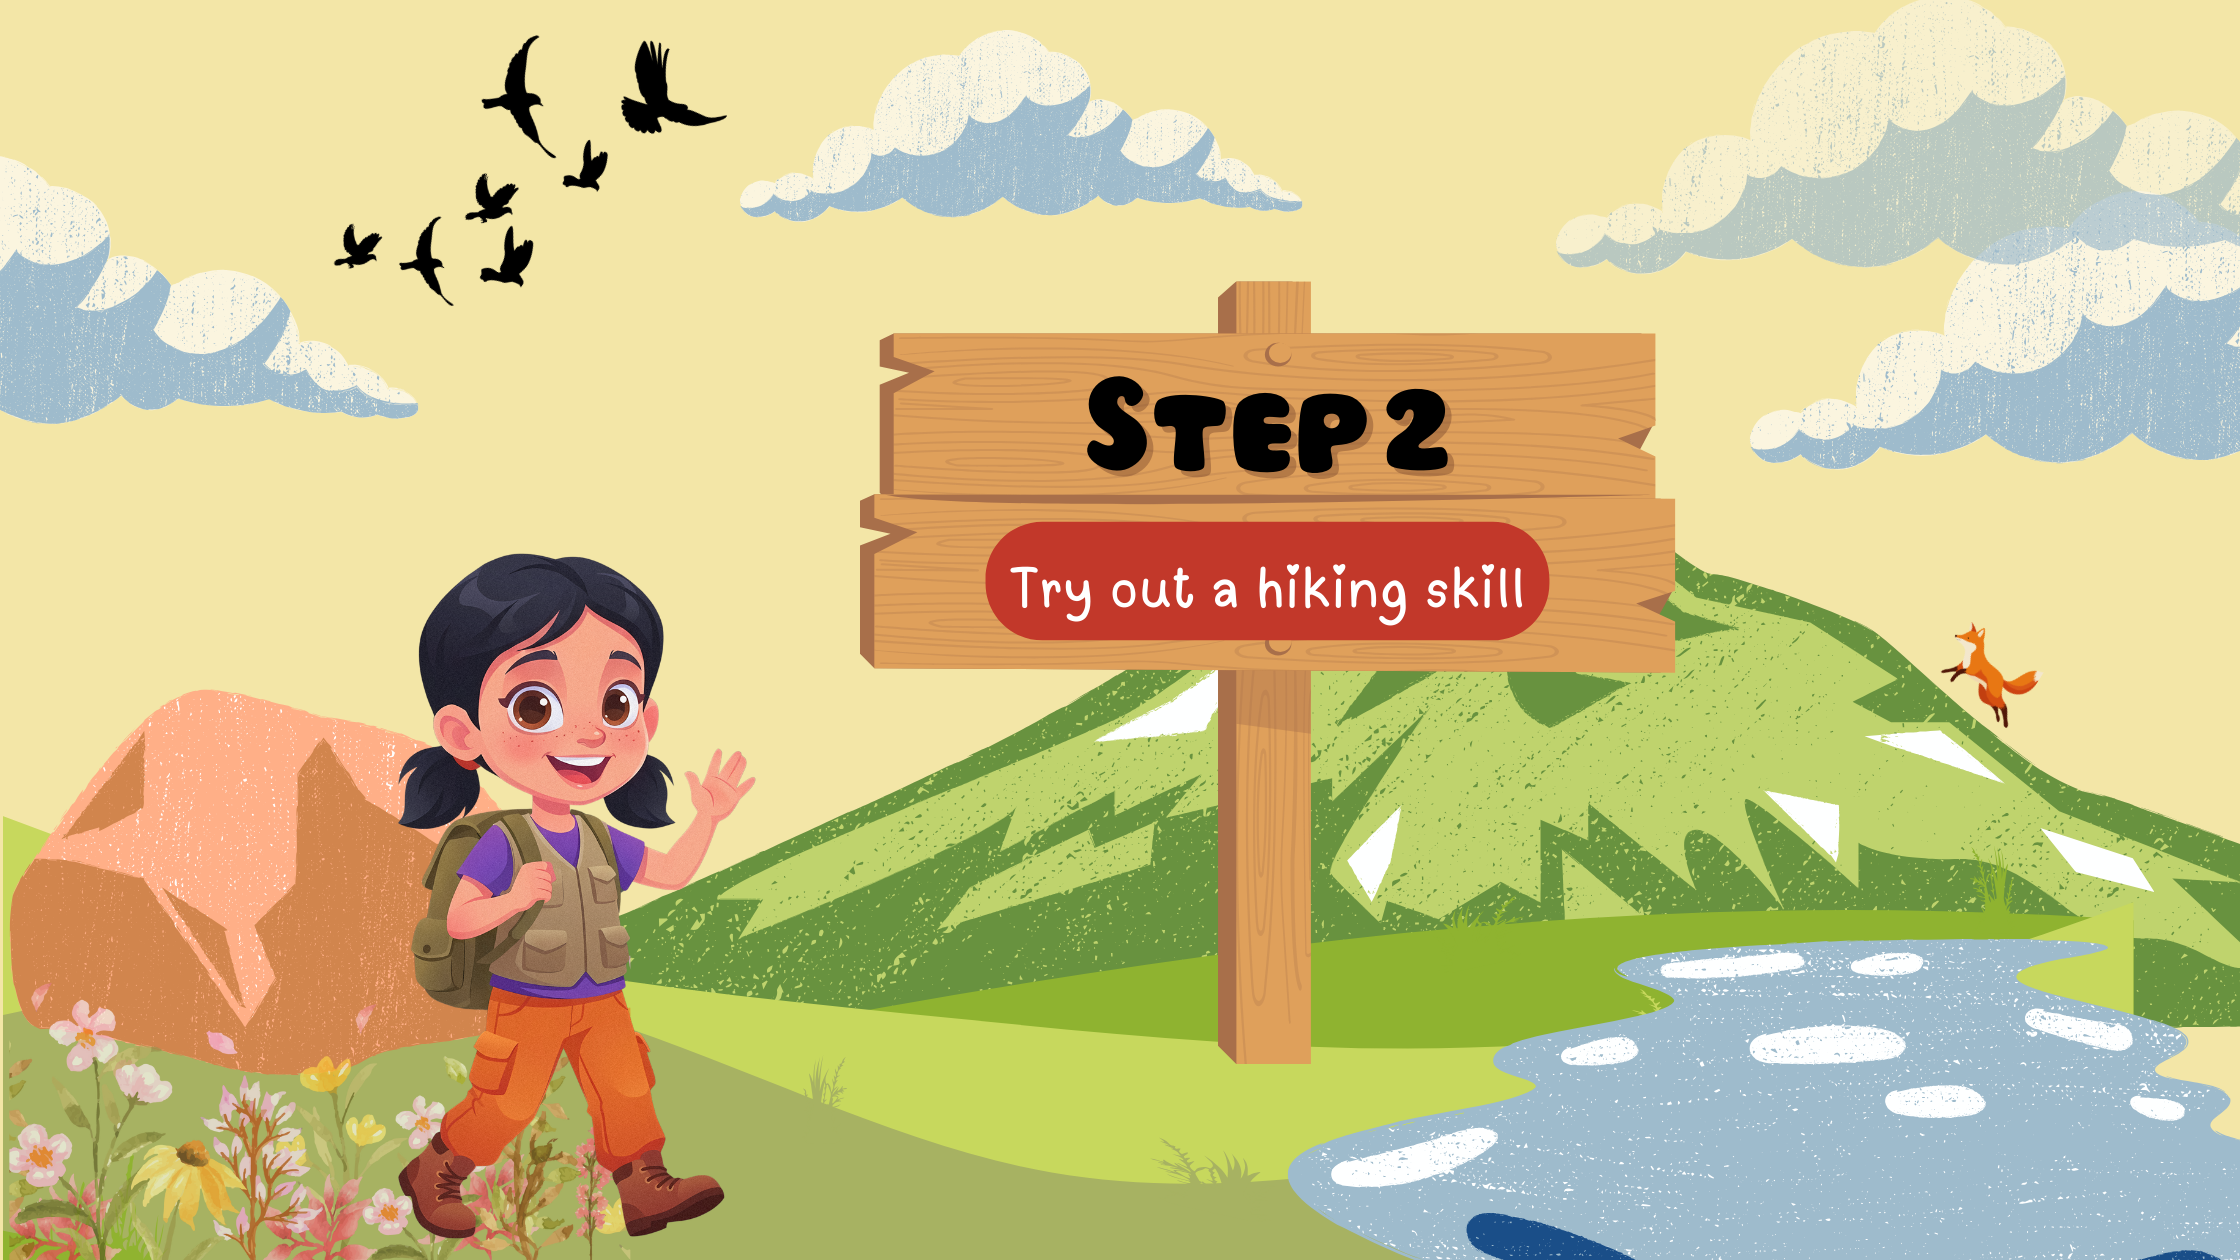
Try out a hiking skill
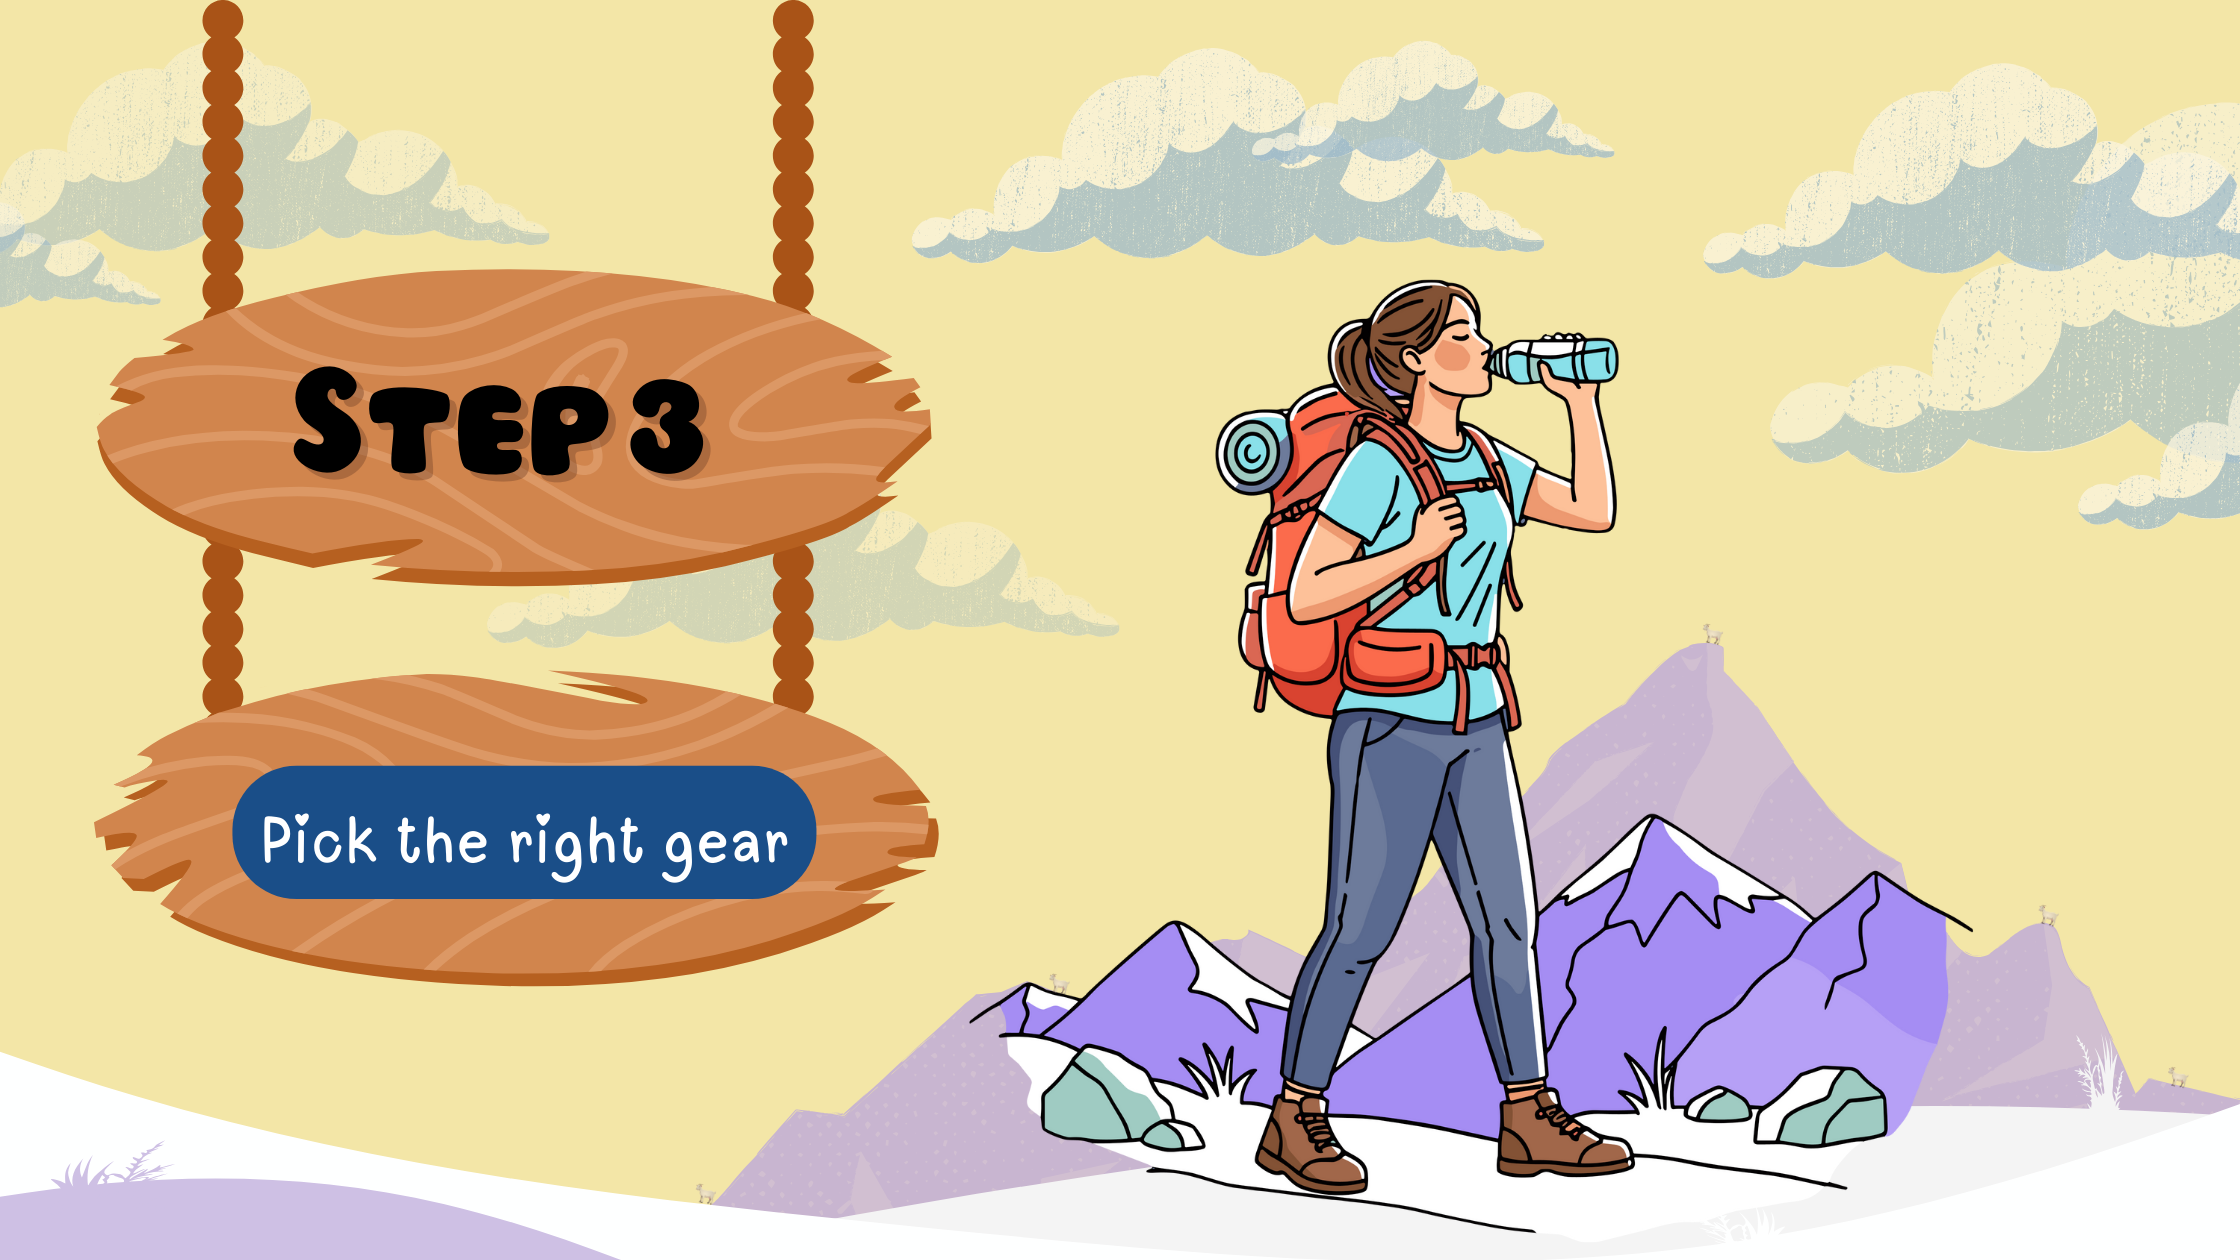
Pick the right gear
Pack a snack for energy
Go on your hike!
Purpose
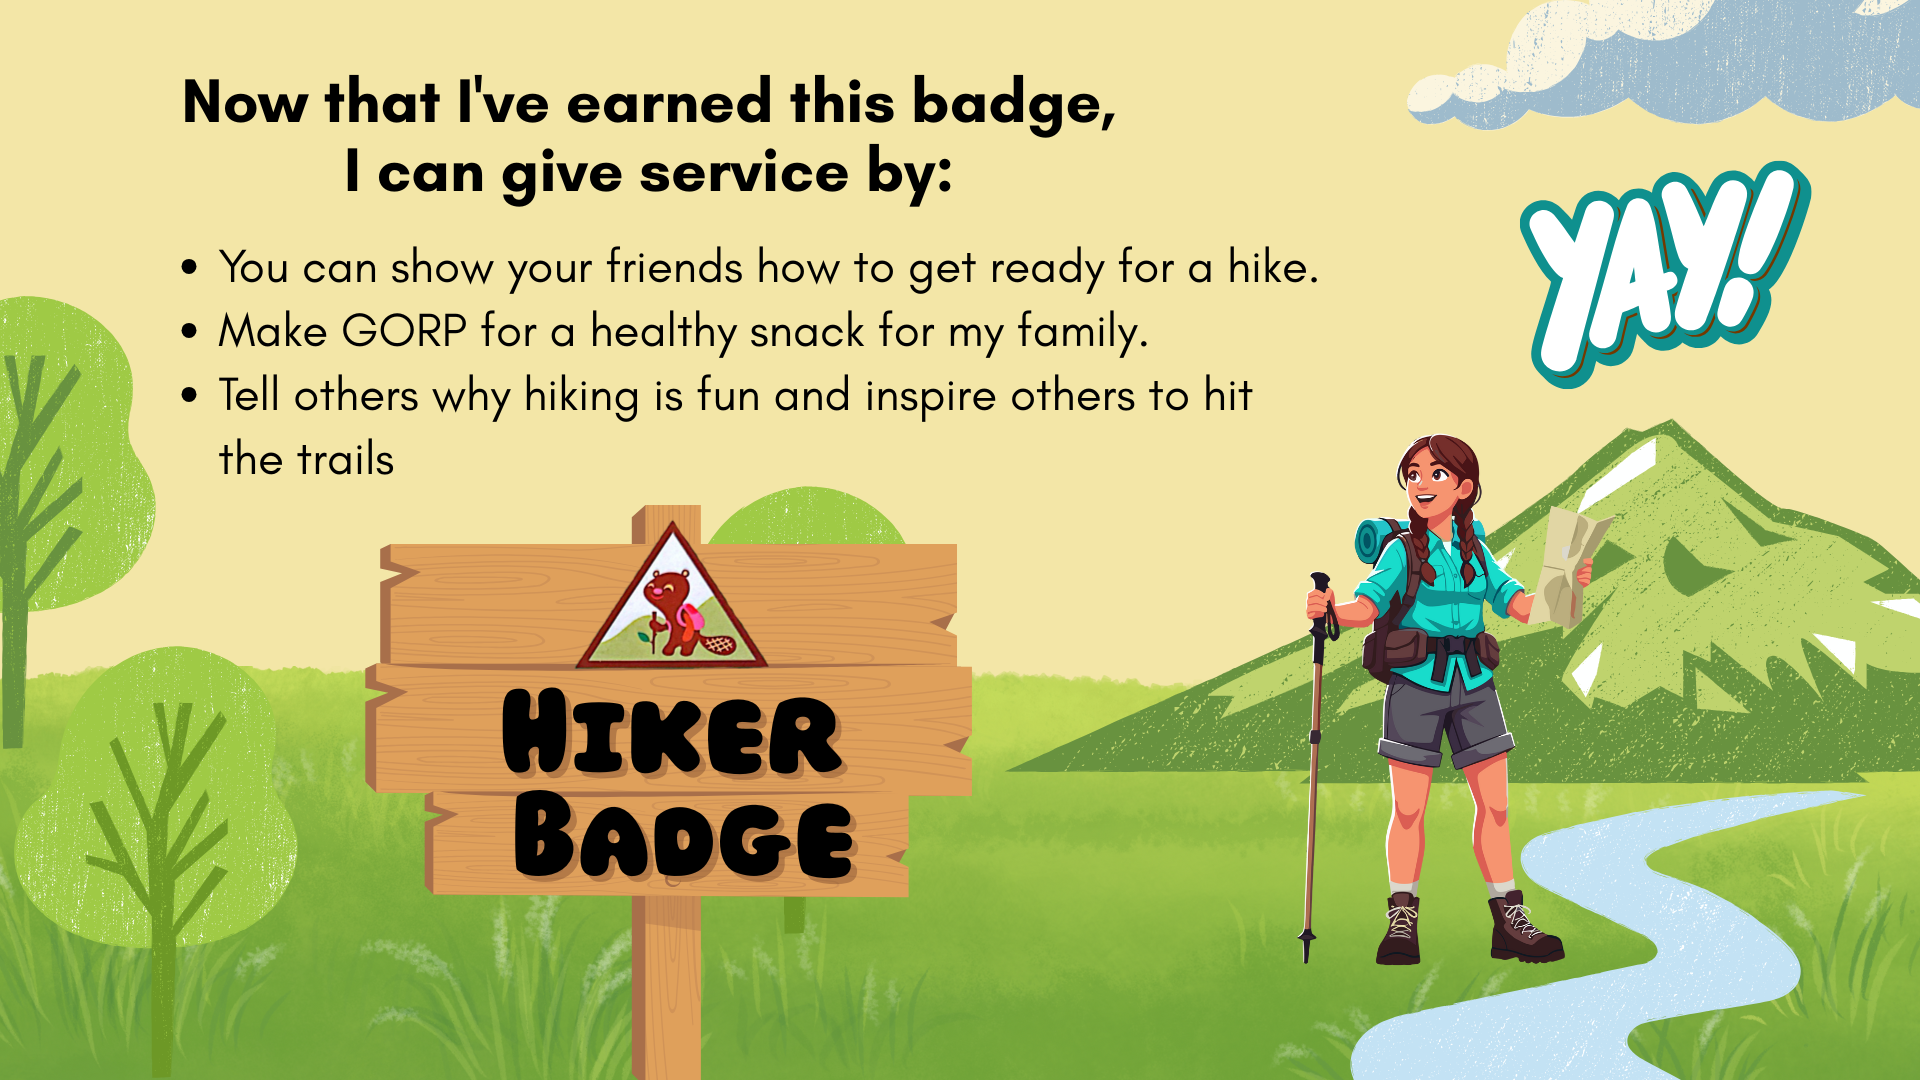
When I’ve earned this badge, I’ll know how to hit the trail for a hike.
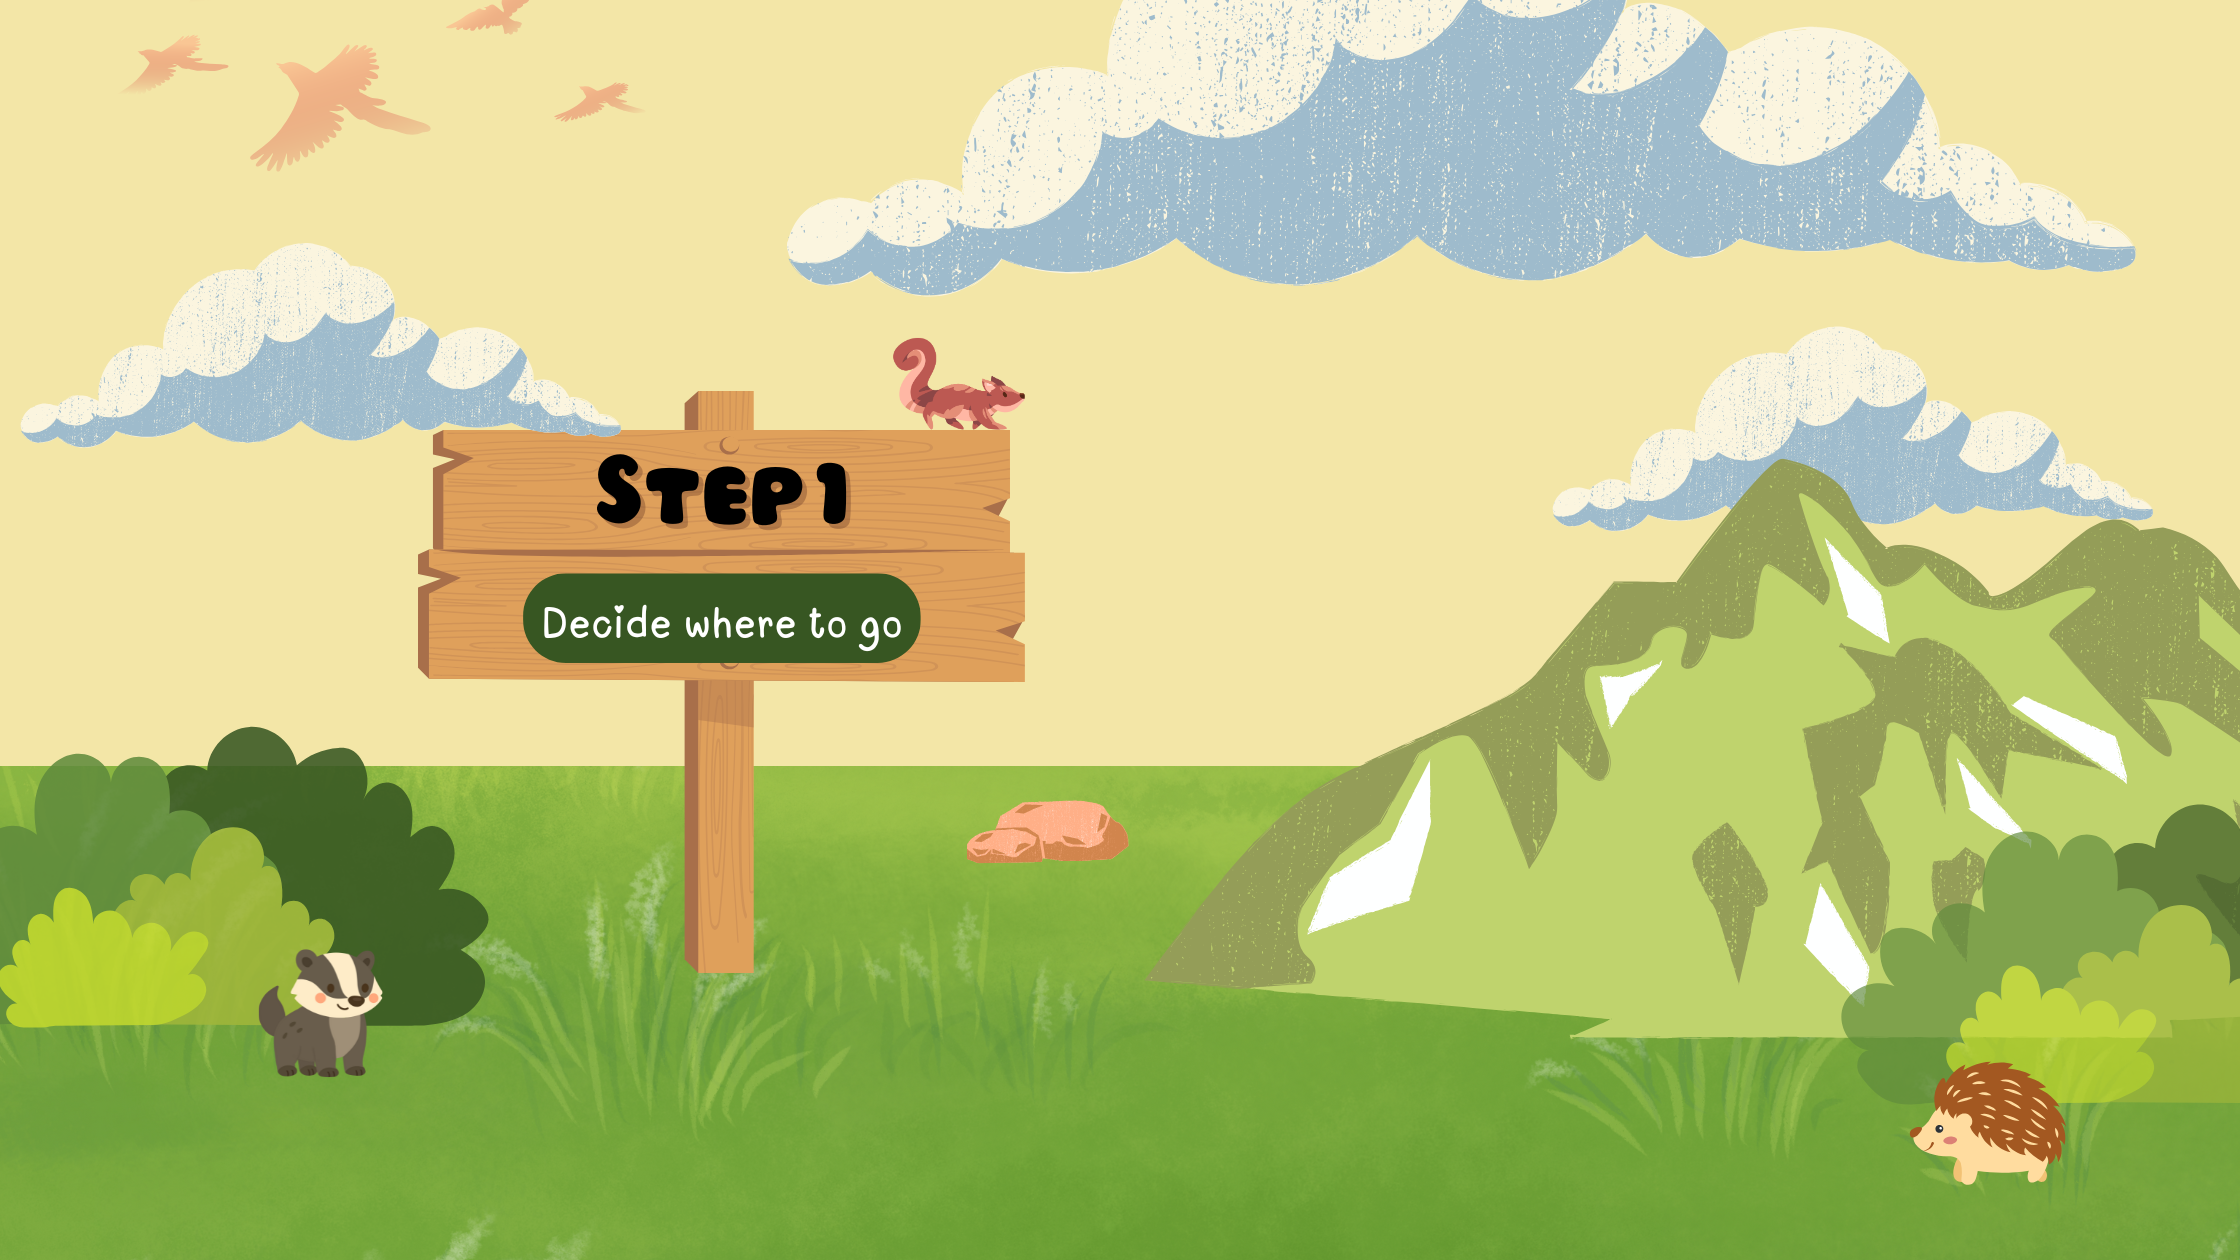
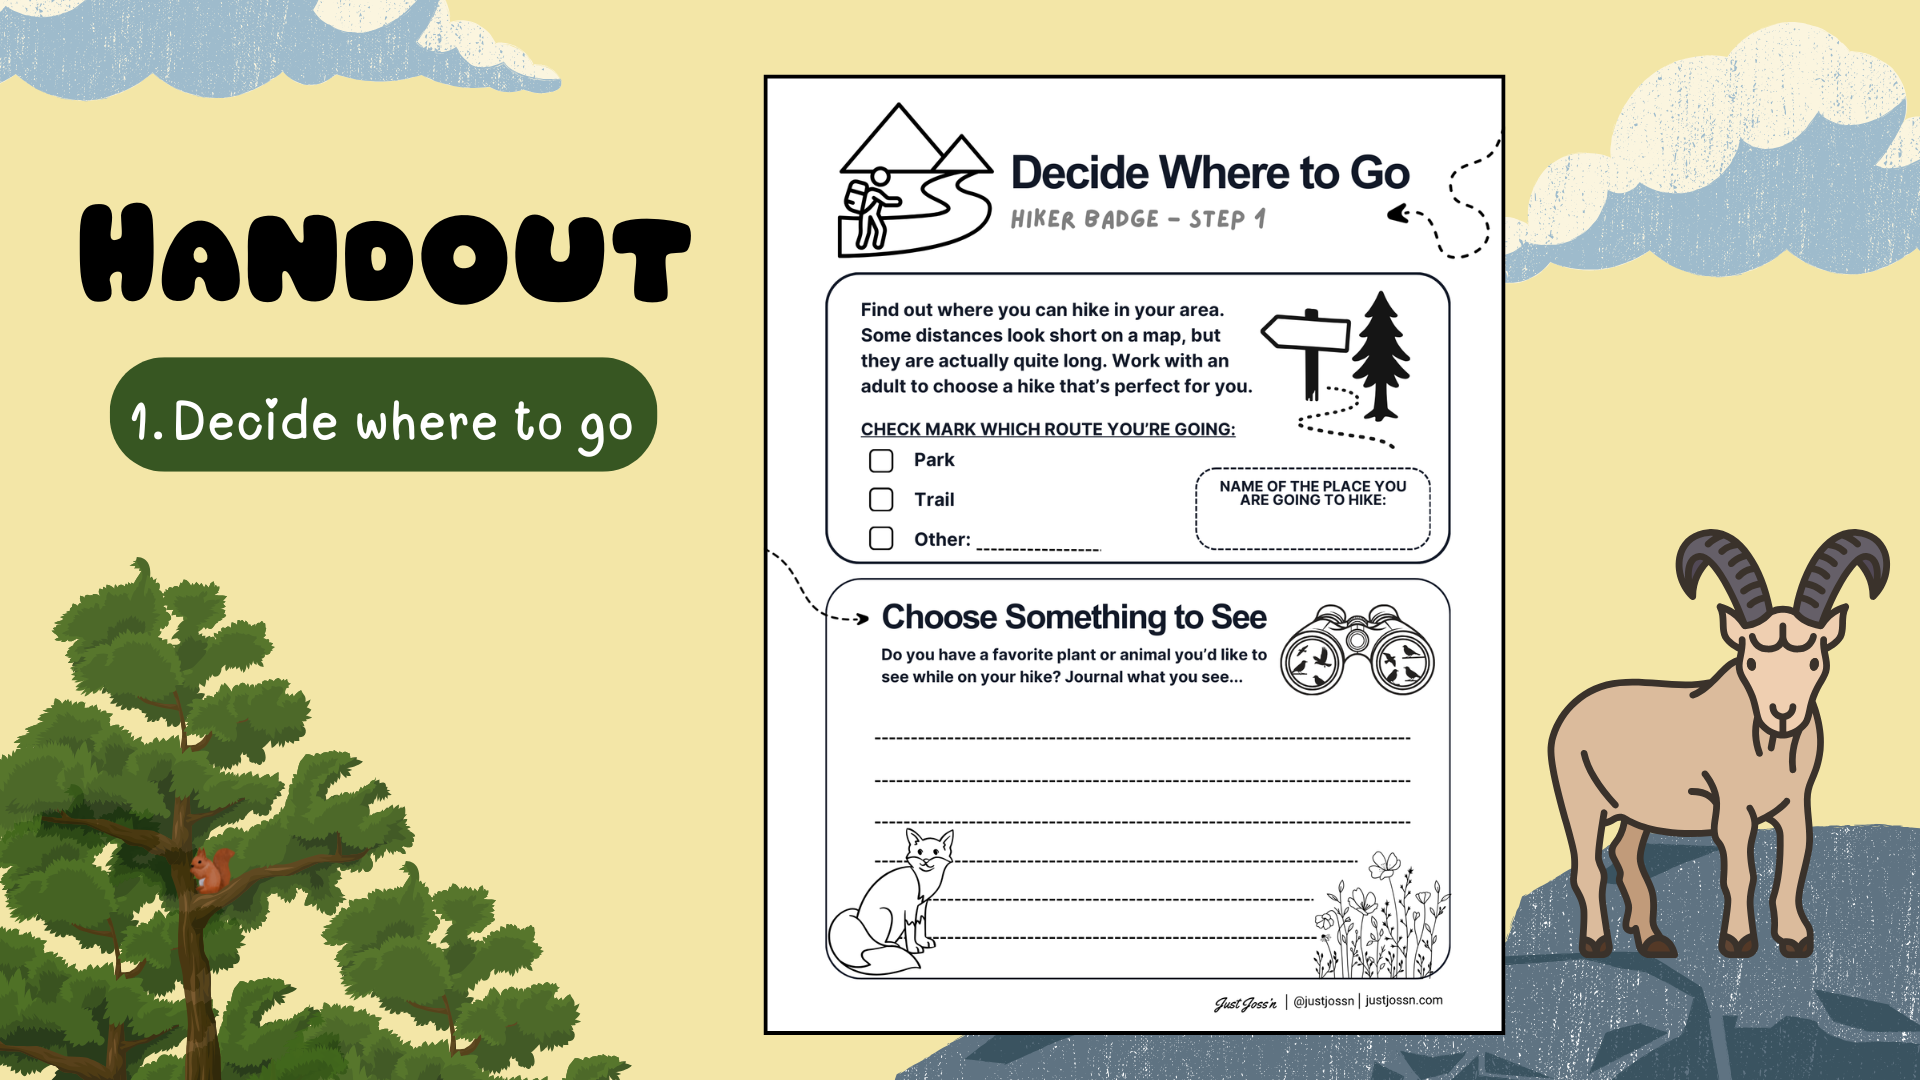
Step 1: Decide where to go
Find out where you can hike in your area. Some distances look short on a map, but they are actually quite long. Work with an adult to choose a hike that’s perfect for you.
BUT FIRSt, there’s different walking paths you can take…
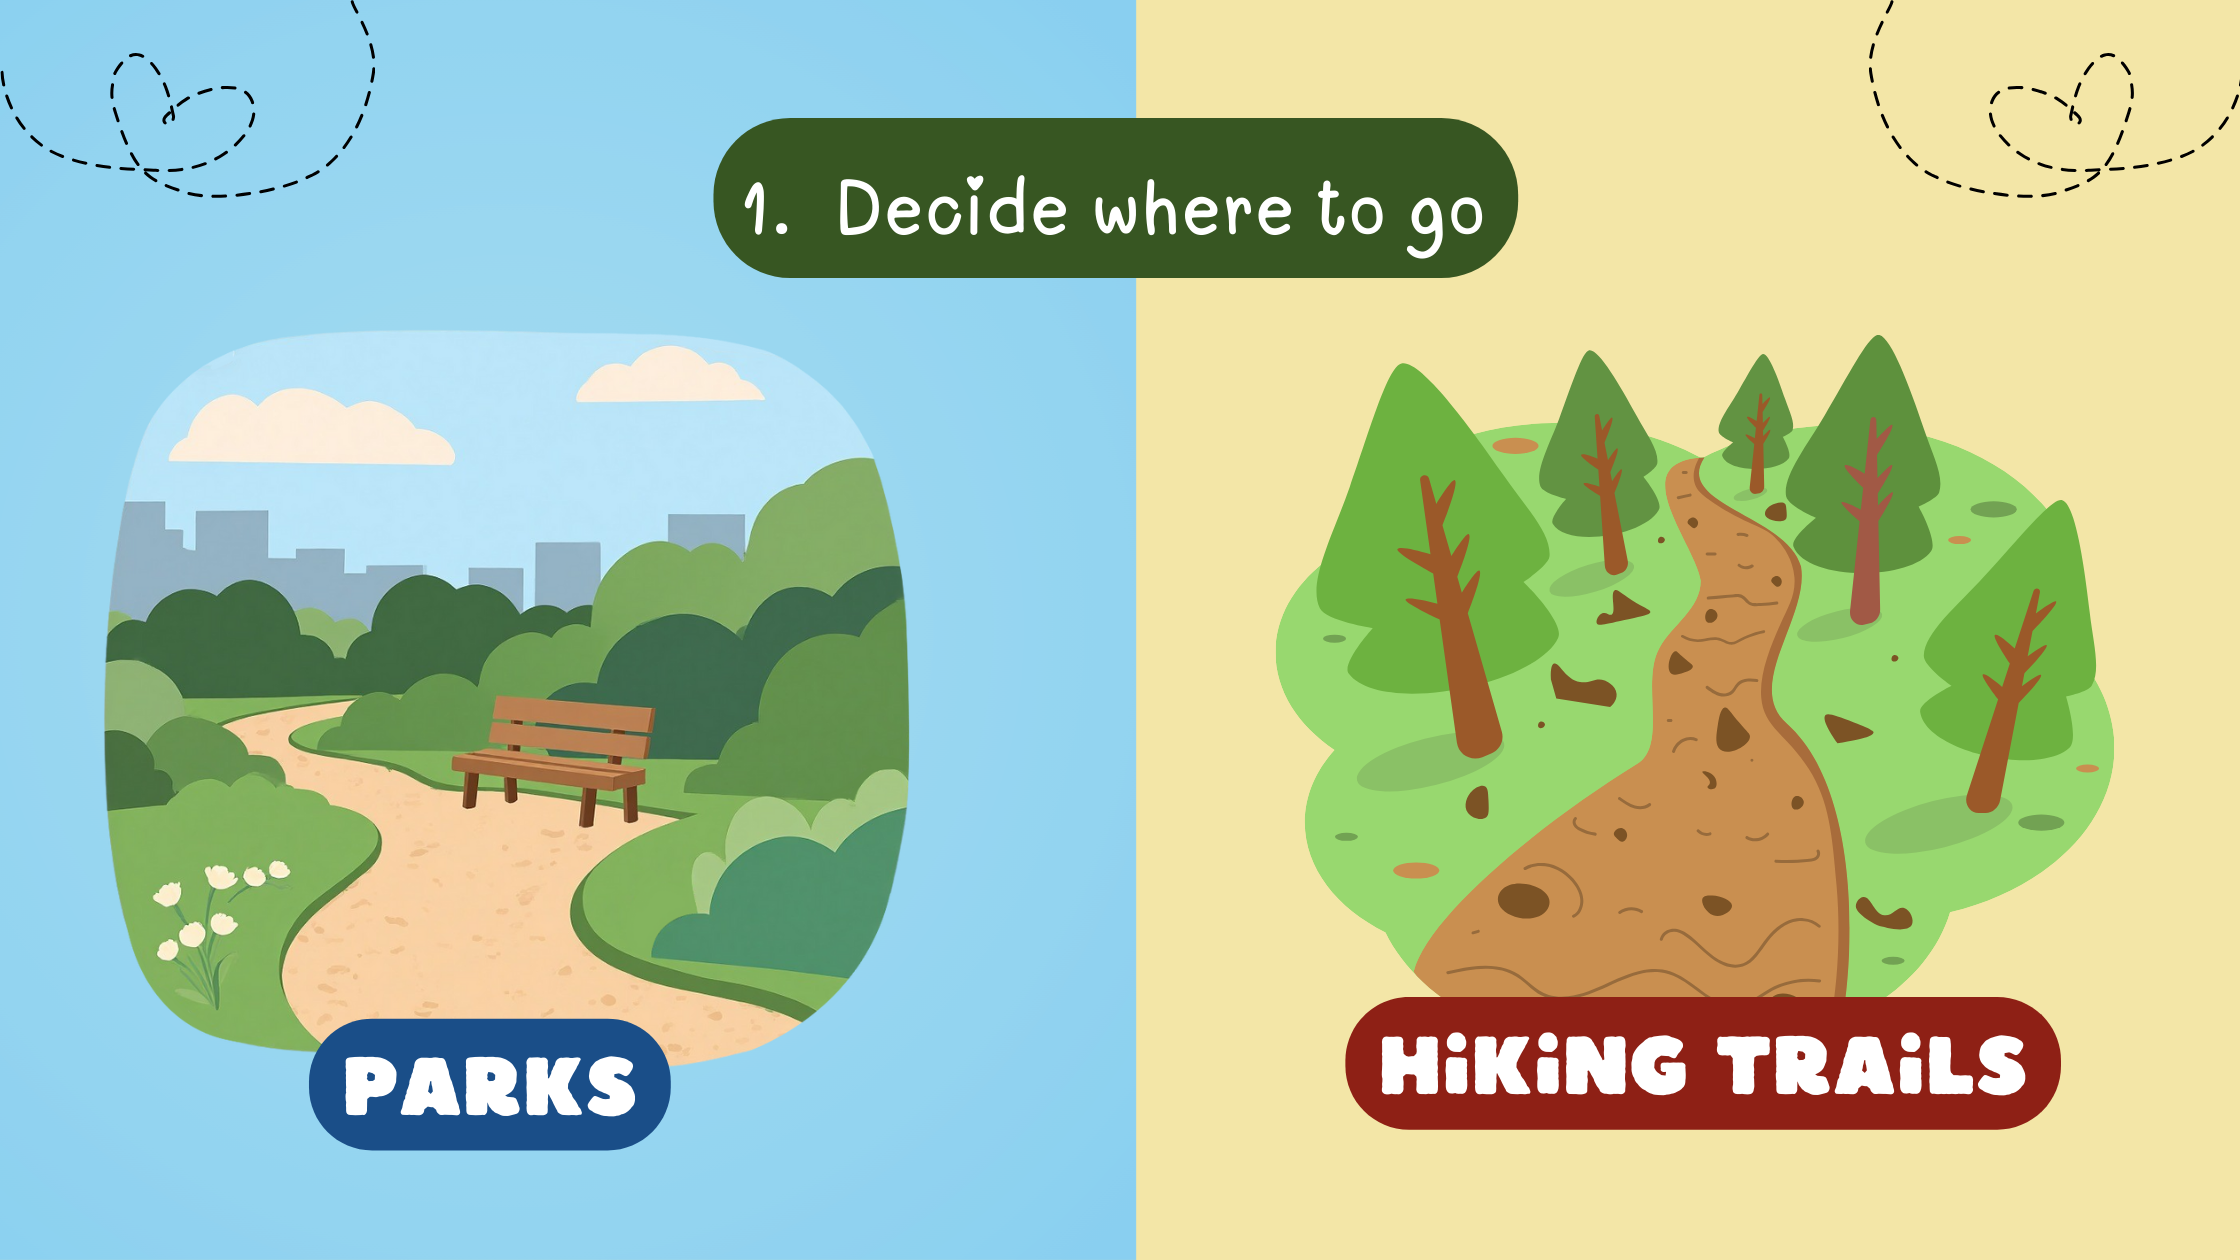
Hiking Trails
Parks
Hiking trails are paths that people use to walk through natural areas. Some trails are flat and easy to walk on, like those in city parks, while others are steep and rough, leading through wild, undeveloped places.
Parks are special places set aside for people to enjoy, where land is cared for and often includes things like playgrounds, trails, or picnic areas.
Local Parks/Trails
My video presentation focused on parks in South Texas, primarily in the Rio Grande Valley. But work with an adult to find a local trail online or find a book of trails in your area.
Use my handout/worksheet to find a local trail:
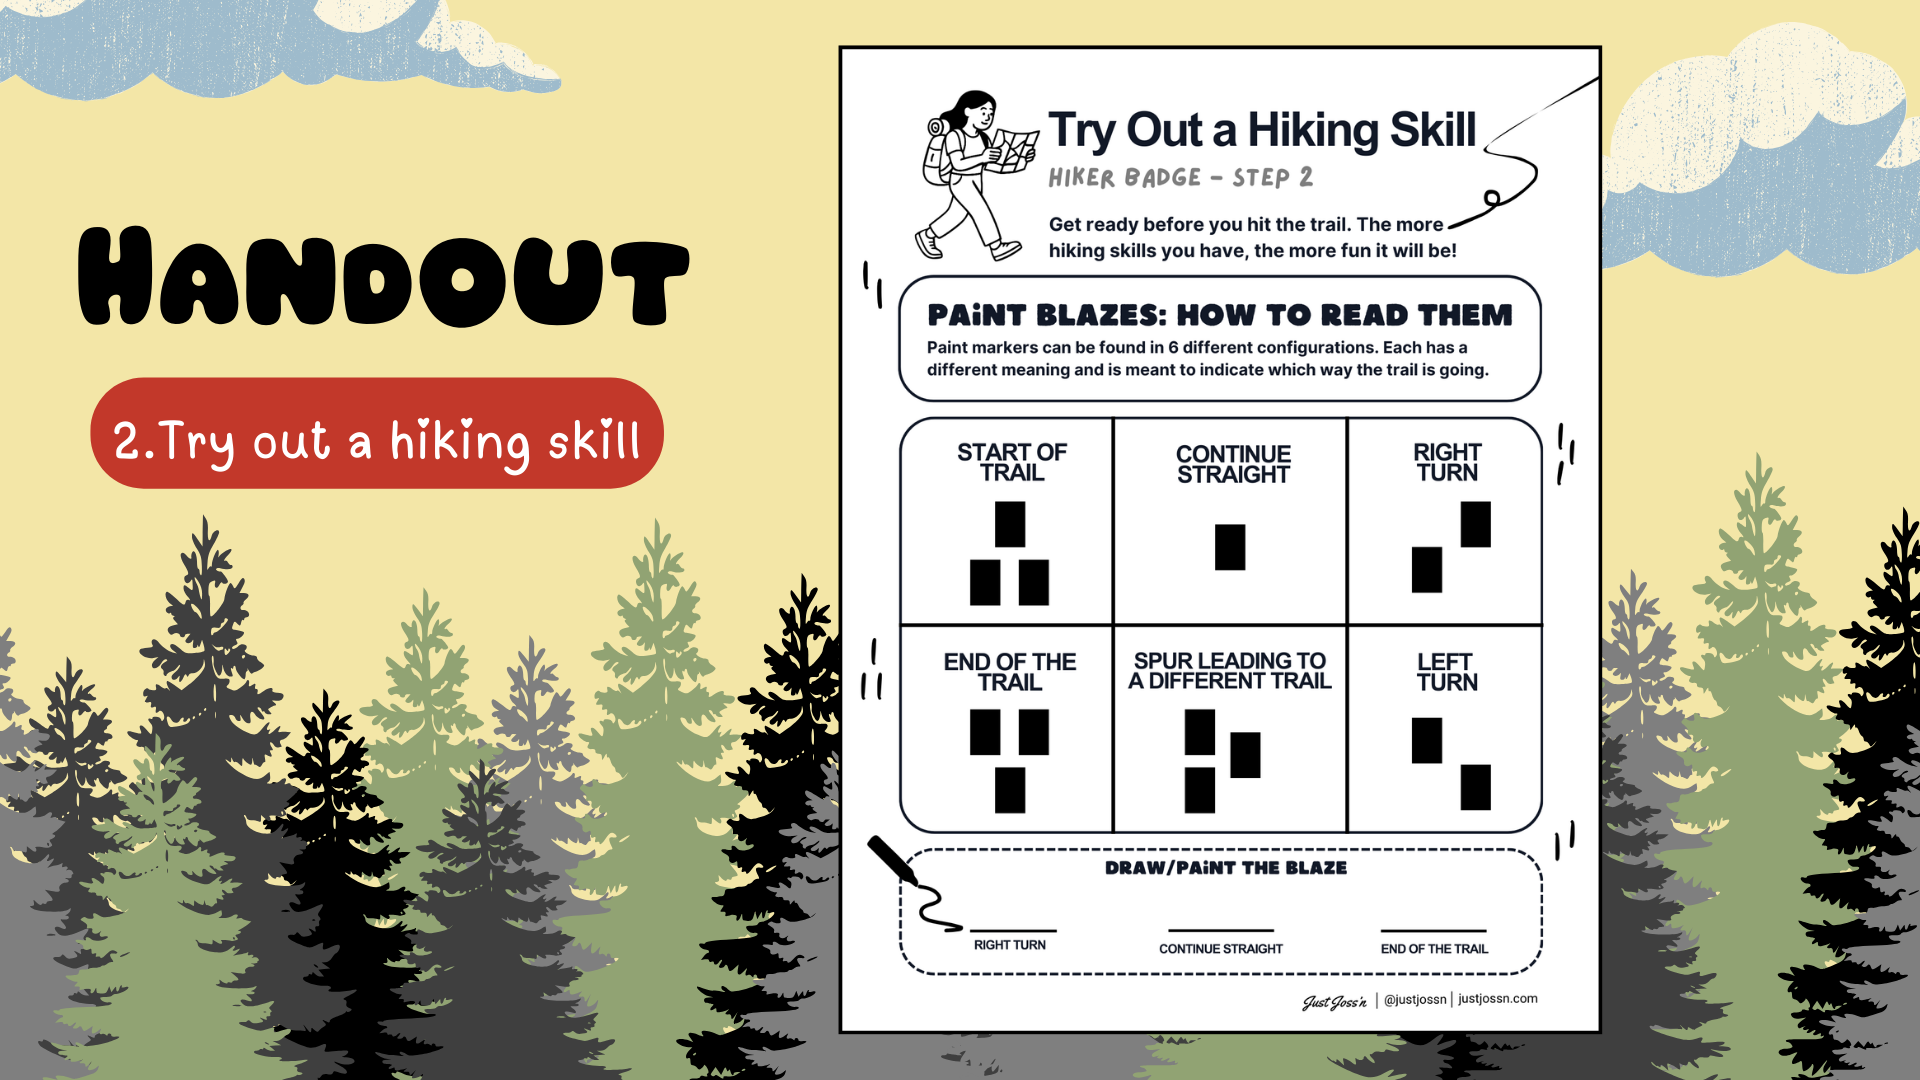
Step 2: Try out a Hiking Skill
Get ready before you hit the trail. The more hiking skills you have, the more fun it will be.
Learn to follow trail signs:
There are different types of hiking trail signs, trail markers, and trail blazes commonly found in the United States and Canada.
What Are Trail Markers Used For?
“Trails don't spontaneously appear. They are planned, built, and blazed so people can travel safely from the trailhead to the summit and beyond. The purpose of a trail marker (or blaze) is to help hikers follow a given path. It is used to indicate the beginning and end of a trail, a change of direction, or an intersection.” - Check greenbelly.co for more info!

There 6 Common Types of Trail Blazes:
Paint
Posts
Etchings
Cairns or ‘Ducks’
Affixed Markers
Flags
*Watch my video to learn more or read Green Belly’s article.
Use my handout/worksheet to Learn How To Follow Paint Blazes
Step 3: Pick The Right Gear
Just like you can’t play sports without the right equipment (playing soccer without a ball would be pretty tough!), you can’t hike without the right gear. By the end of this step, you should have your hiker backpack ready.
The Ten Essentials for Day Hiking
The exact items from each system that you take can be tailored to the trip you're taking. For example, on a short, easy-to-navigate day hike, you might choose to take a map, compass, and PLB, but leave your GPS and altimeter behind. On a longer, more complex outing, you might decide you want all those tools to help you find your way. When deciding what to bring, consider factors like weather, difficulty, duration, and distance from help. - Check out Rei.com for more info!

The Ten Essentials:
Hiking Gear: Daypack
Hiking Footwear
Clothing/Moisture Wicking Apparel
Navigation Item
Light/Lamp + extra batteries
First Aid Kit
Emergency Items (ex, whistle/meds)
Sun Protection Items/Gear
Food & Water
Tools & Repair (ex, multi-tool)
*Watch my video on reviewing the ten essential systems/items to bring on a day hike, or read Rei’s article. (Rei also has a variety of hiking checklists that you can use depending on the kind of hike you’re doing.)
QUICK NOTE: LEAVE NOT TRACE!
Before you go, pledge to “Leave No Trace! Talk about these seven important tips that help you keep nature safe when you’re exploring.
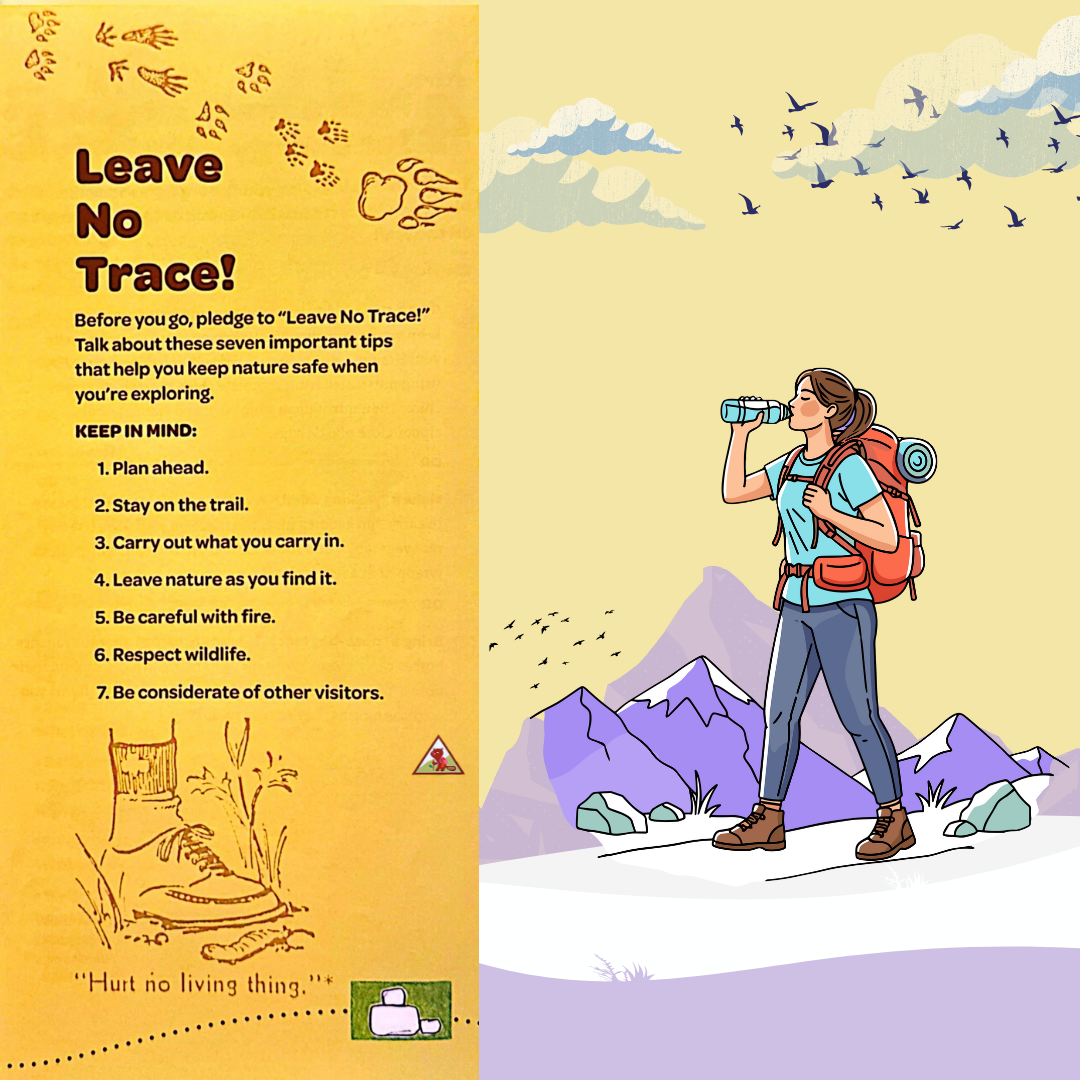
Keep in Mind:
Plan ahead
Stay on the trail
Carry out what you carry in.
Leave nature as you find it.
Be careful with fire.
Respect wildfire.
Be considerate of other visitors.
Get the Checklist and Hiking Gear Worksheet

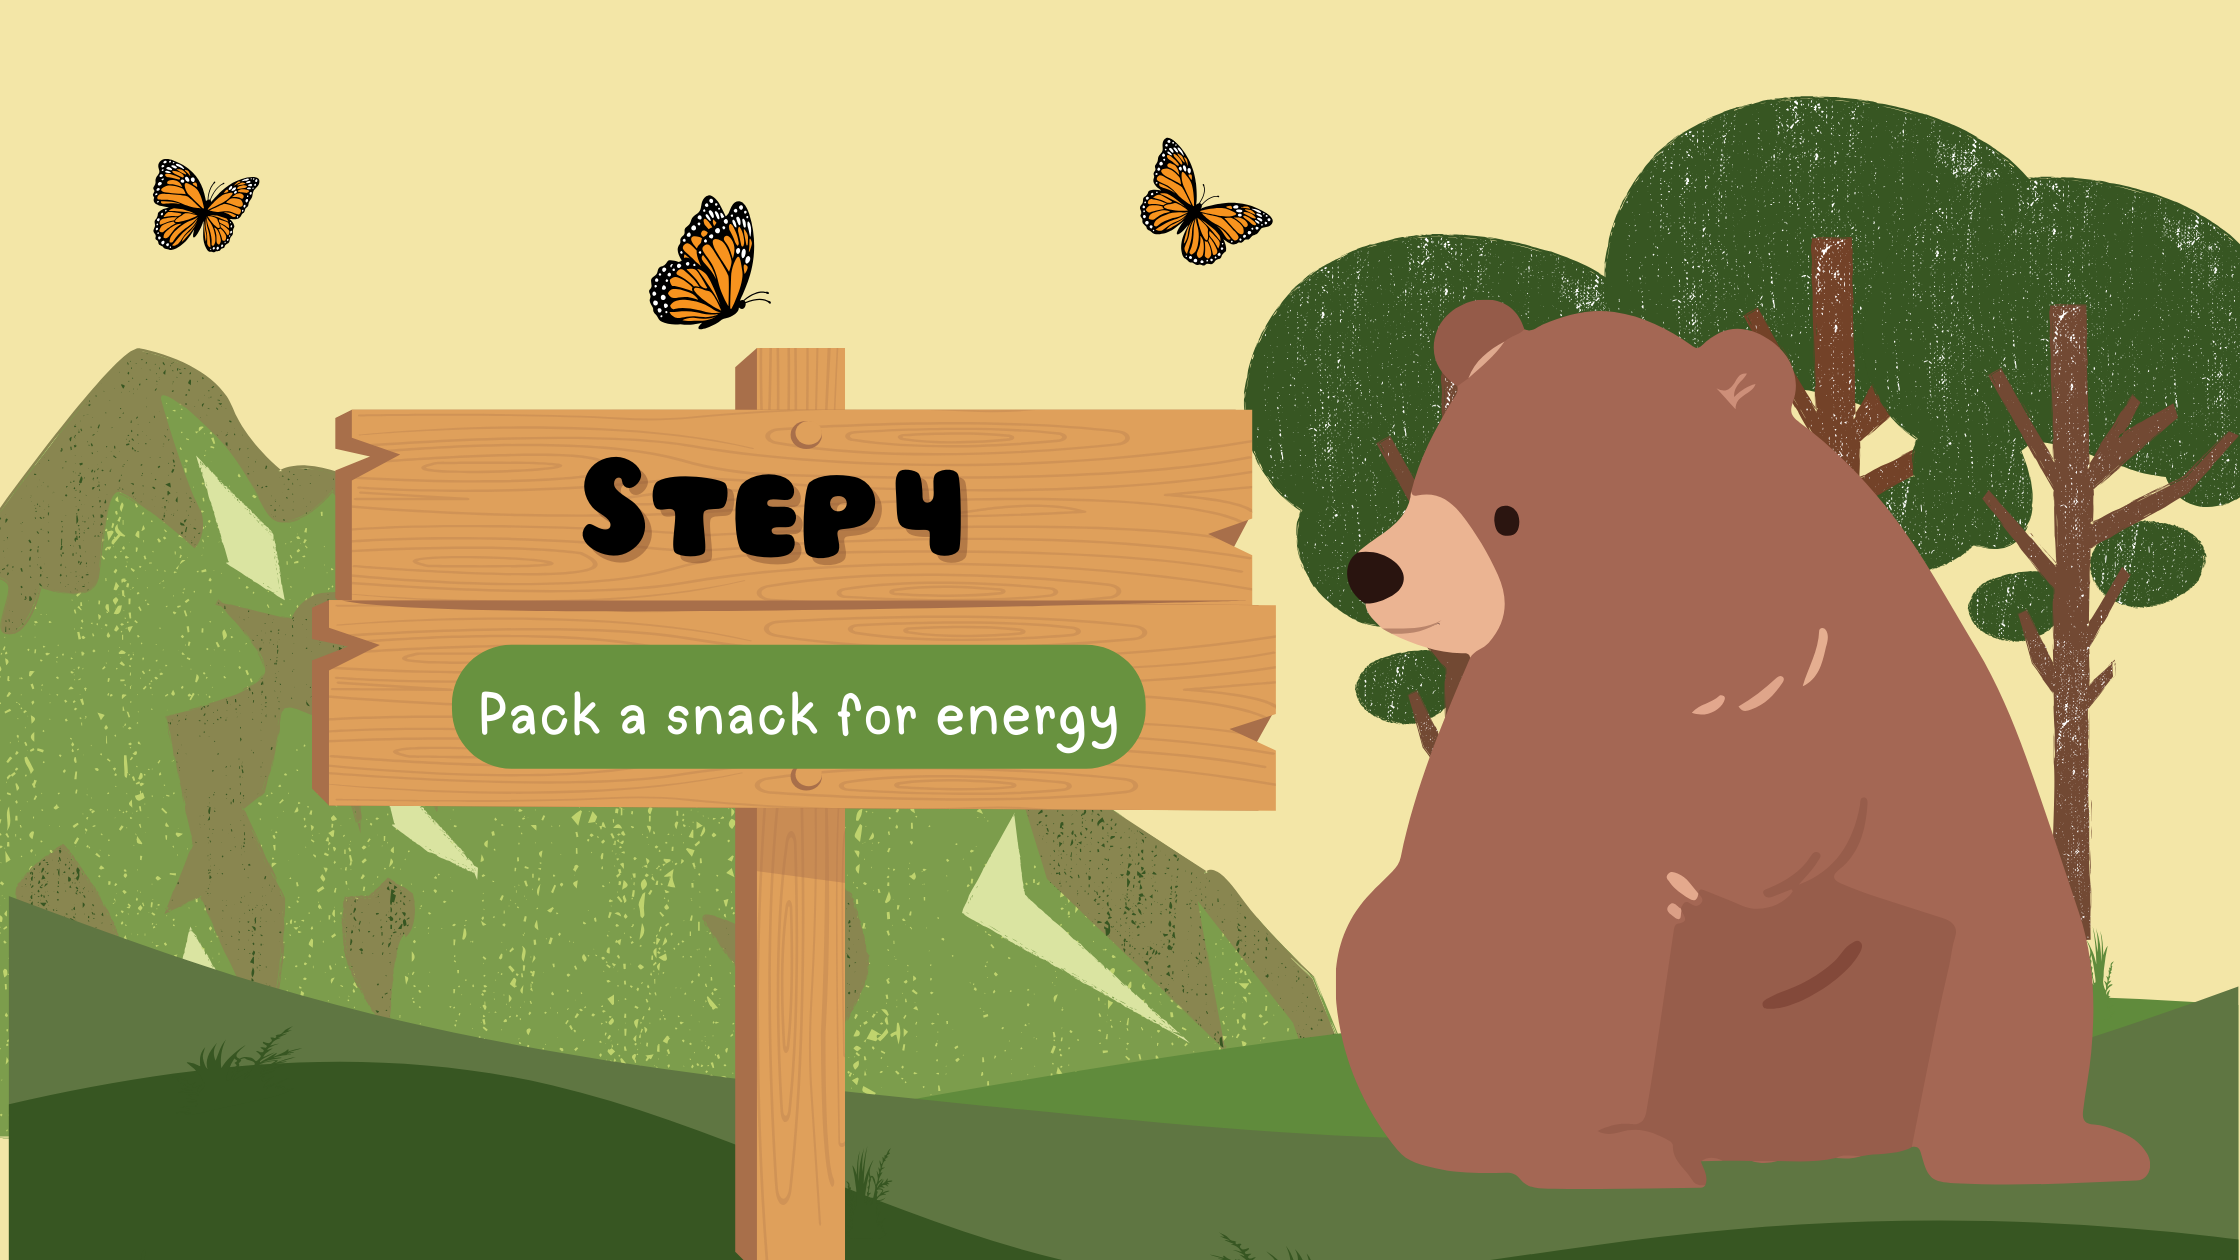
Step 4: Pack a snack for energy
You’ll need to keep up your energy on your hike. Pike your favorite healthy snack to take with you on the trail.
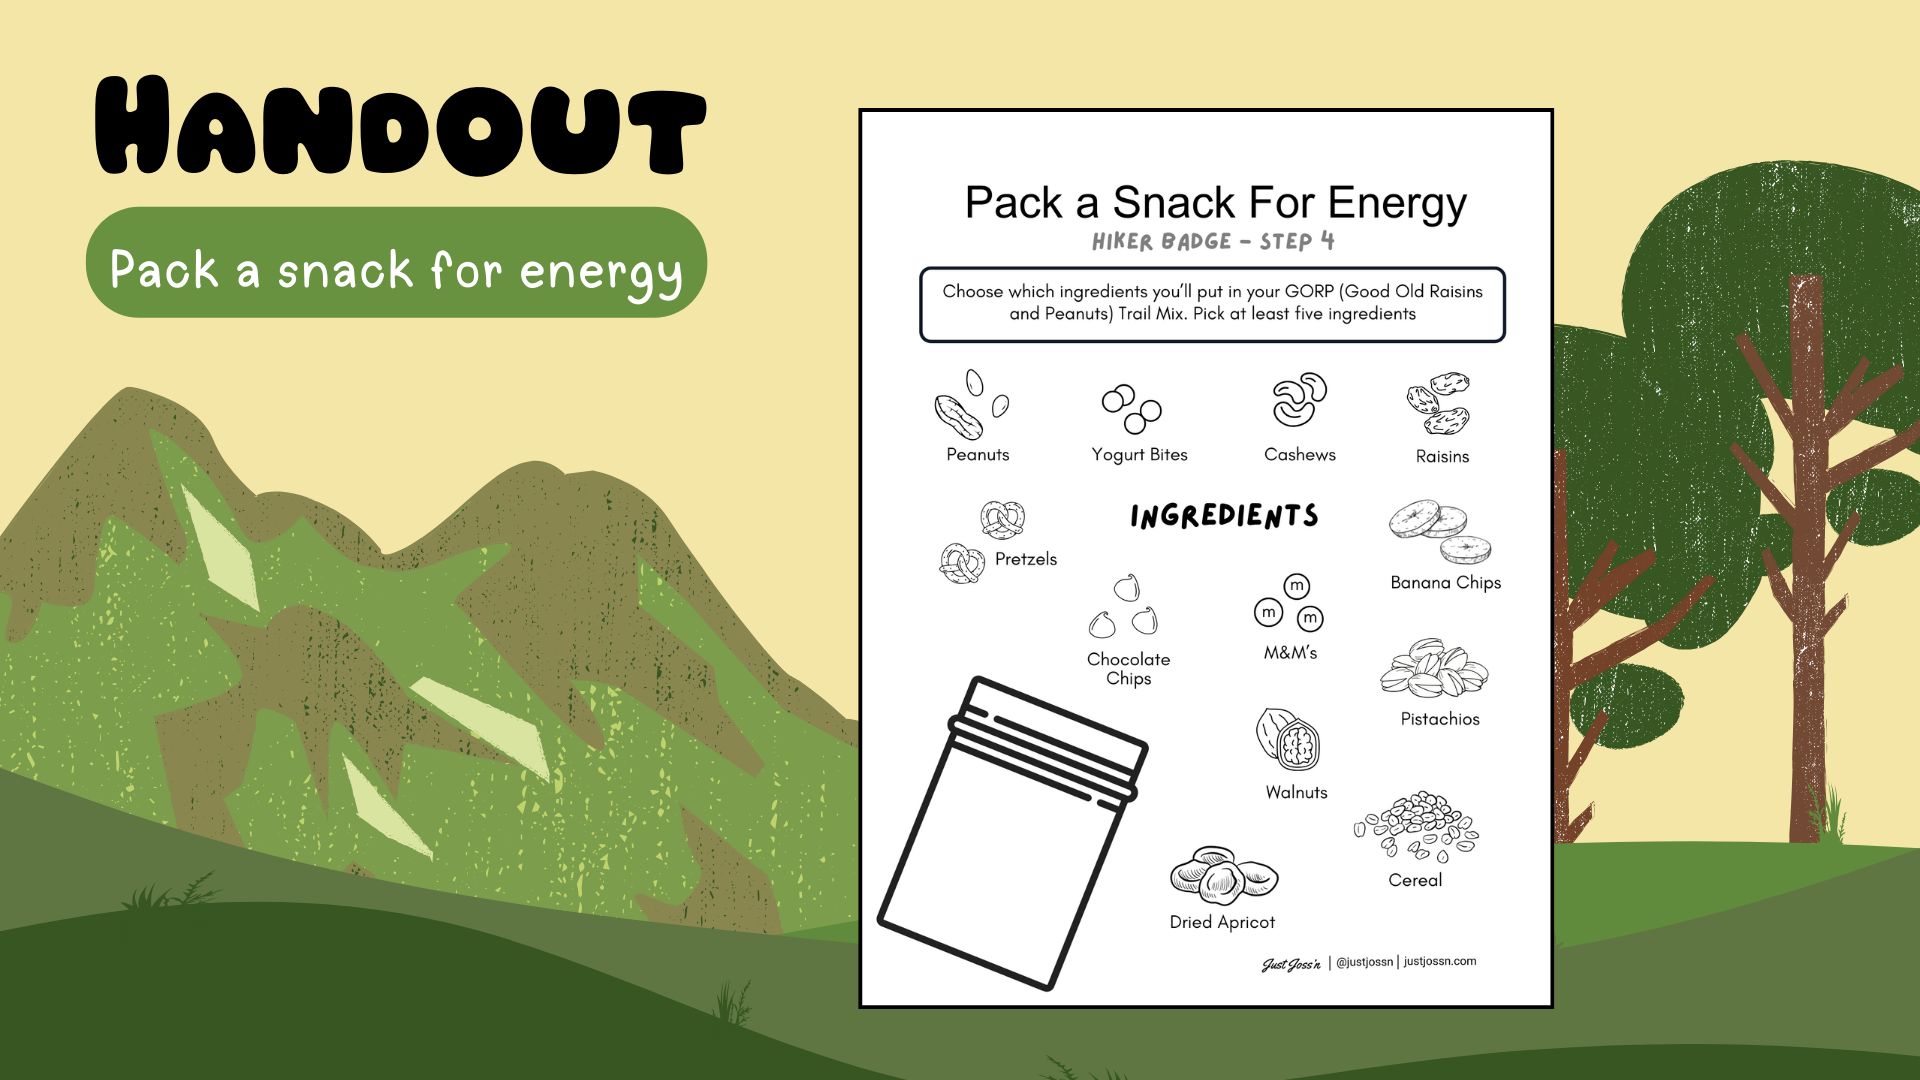
GORP (Good Old Raisins and Peanuts)

GORP tastes great - and help keep your energy up!
Pick your own ingredients, or invite your Brownie sisters to each contribute an ingredient.
Try using:
nuts
dried fruit
chocolate chips
pretzels
or yogurt chips.
Then mix it up in a big bowl and store it in small zipper-close plastic bags.
*Watch my video to learn more about GORP.
Get the Pack a Snack for energy Hanout (GORP)
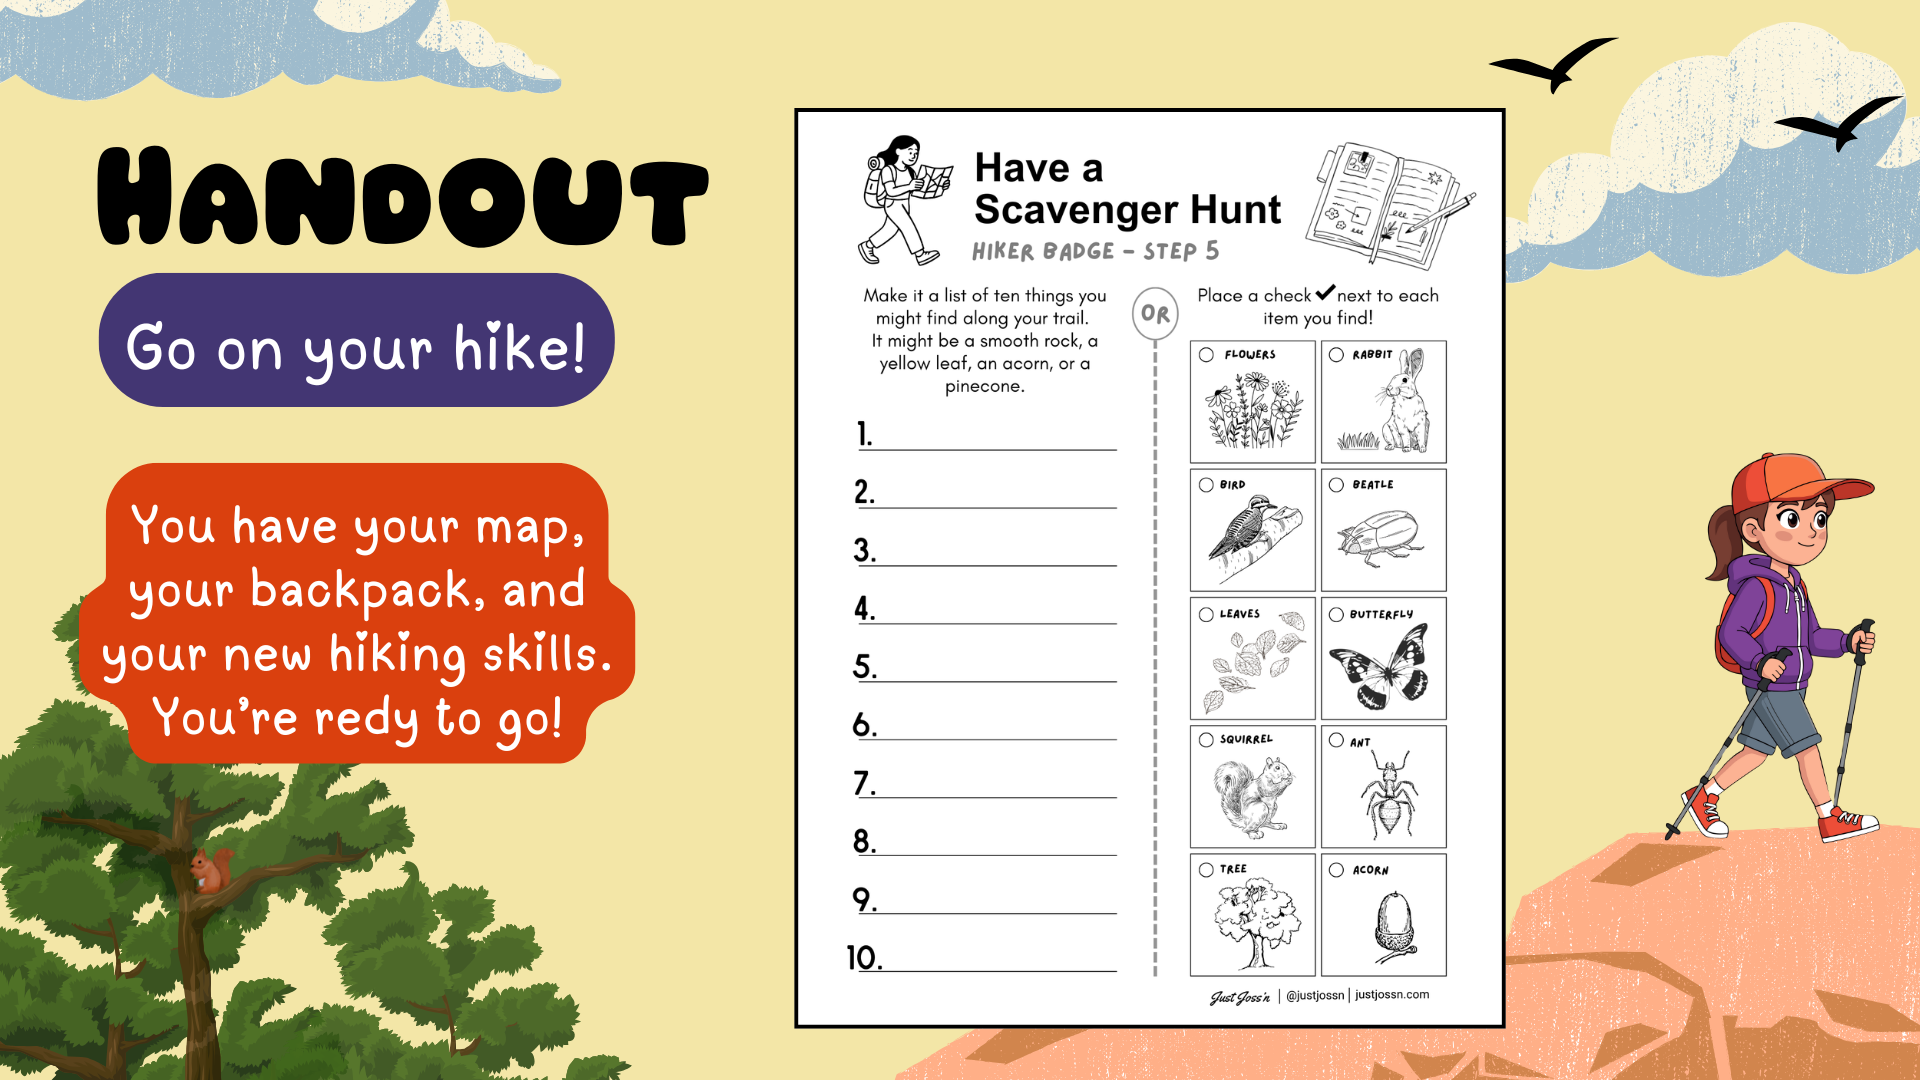
Step 5: Go Your Hike!
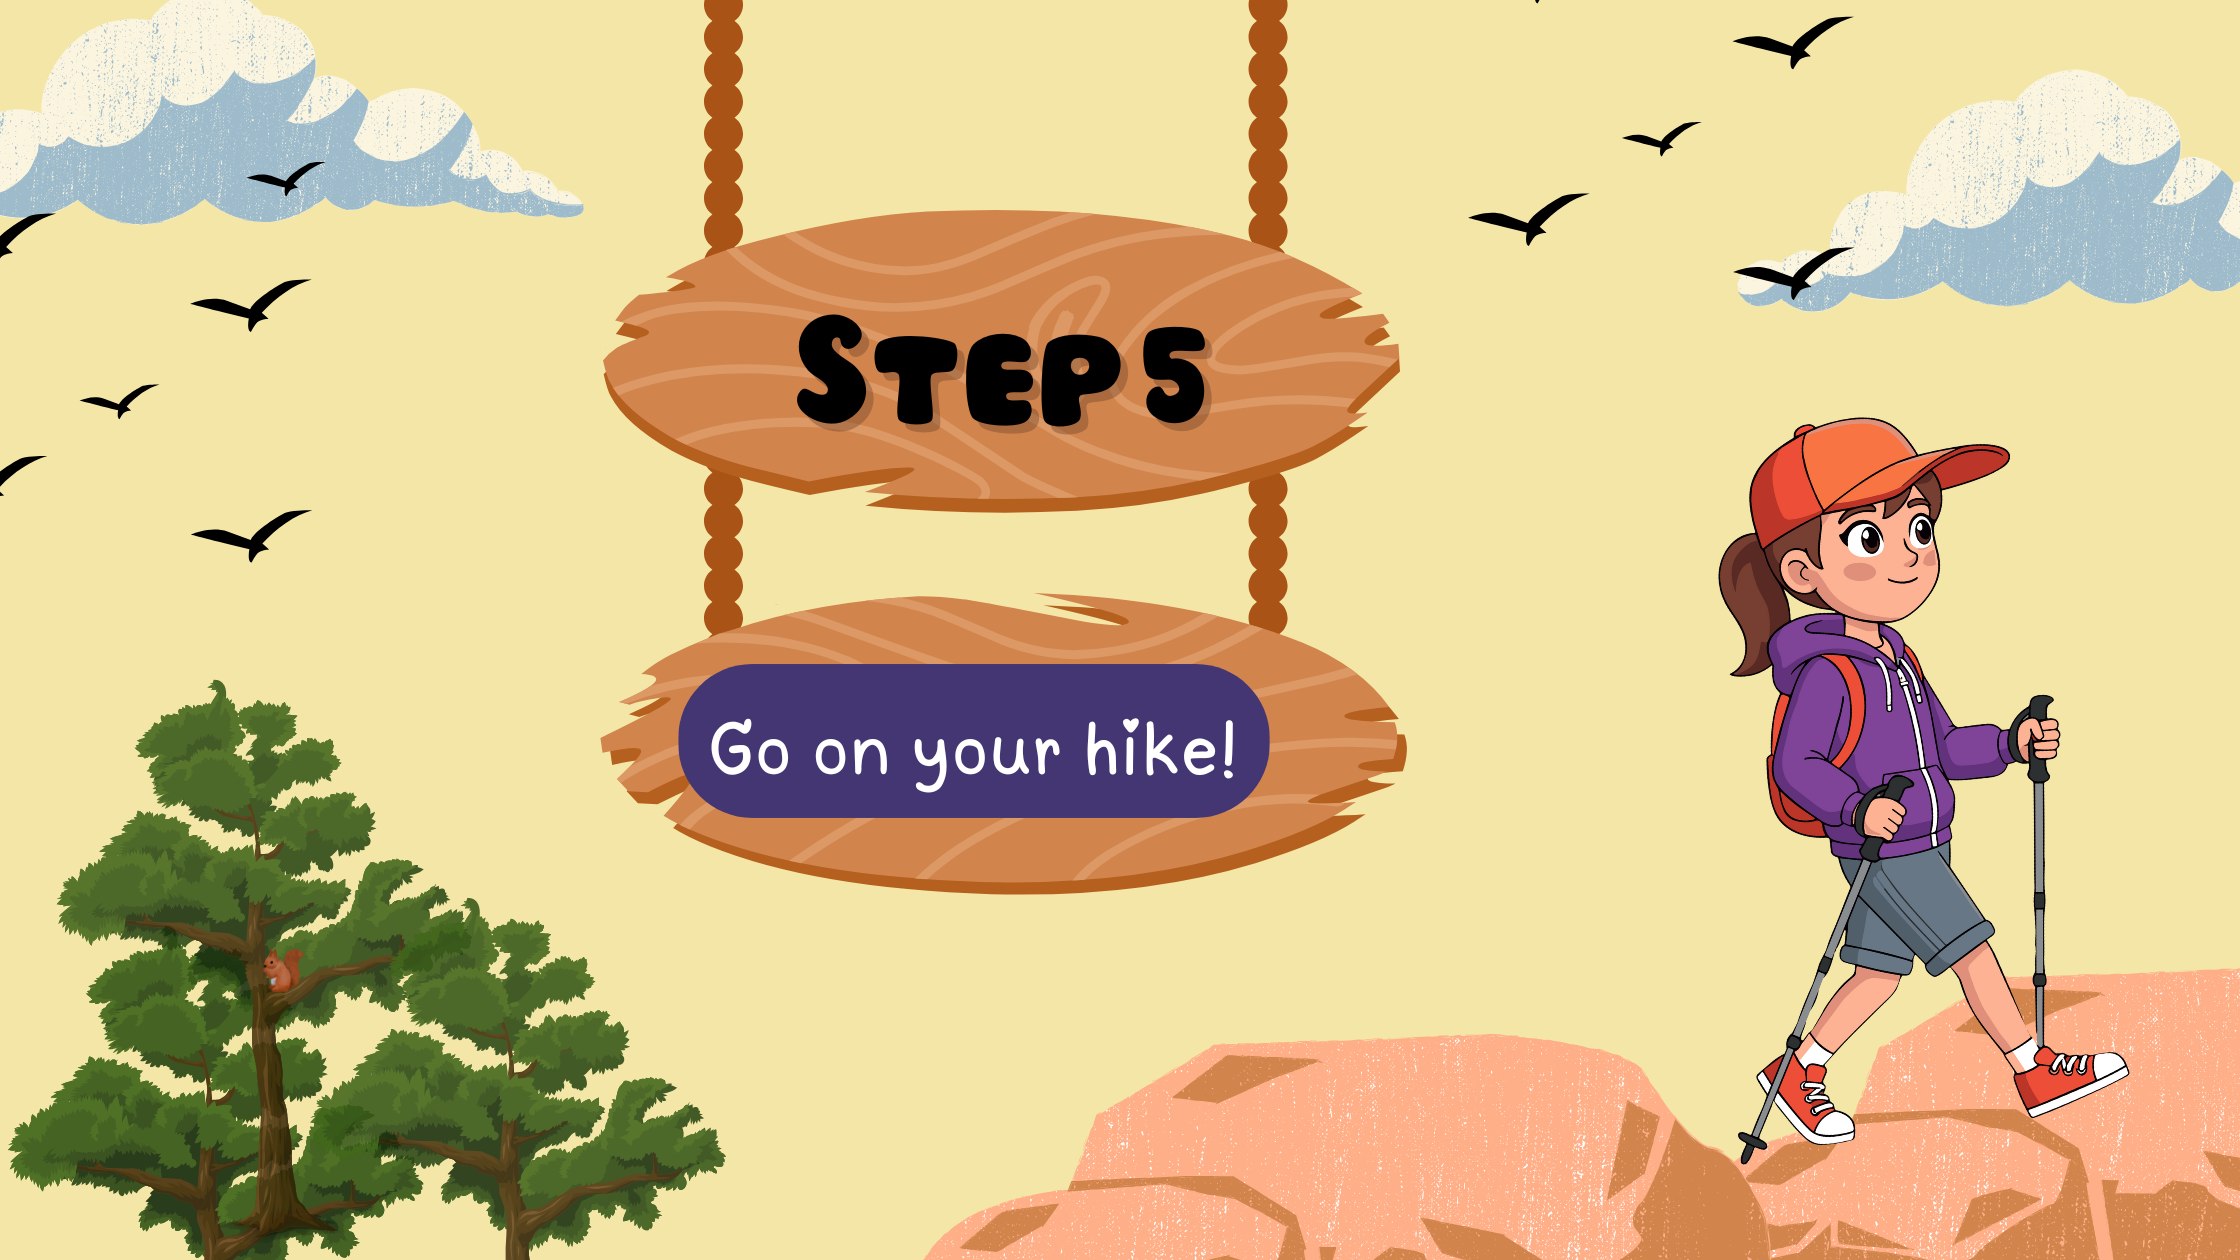
You have your map, your backpack, and your new hiking skills. You’re ready to go! Now choose a game to play as hike along- and maybe even learn a new song.
Have a scavenger hunt
Make a list of ten things you might find along your trail. It might be a smooth rock, a yellow leaf, an acorn, or a pinecone.
Watch my video to learn more.
Get the Scavenger Hunt Handout
Just Joss’n Presentation
CONGRATULATIONS!
You’ve earned a Girl Scout badge!
Talk to your troop leader about getting your badge as well as further information about the Hiker Badge Activity.